Setting up Lab2
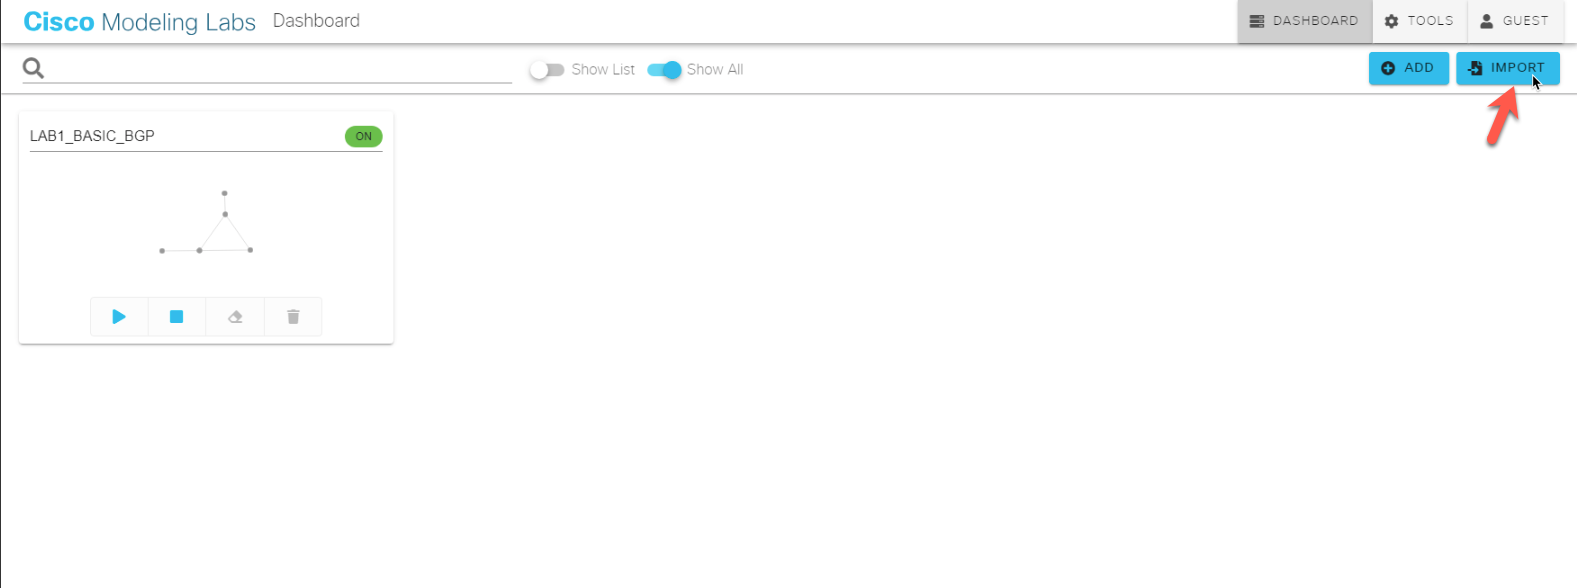
Click on the Cisco Modeling Labs logo located on the top left on your screen to go back to the main page. Import the lab
The file is located under Downloads:
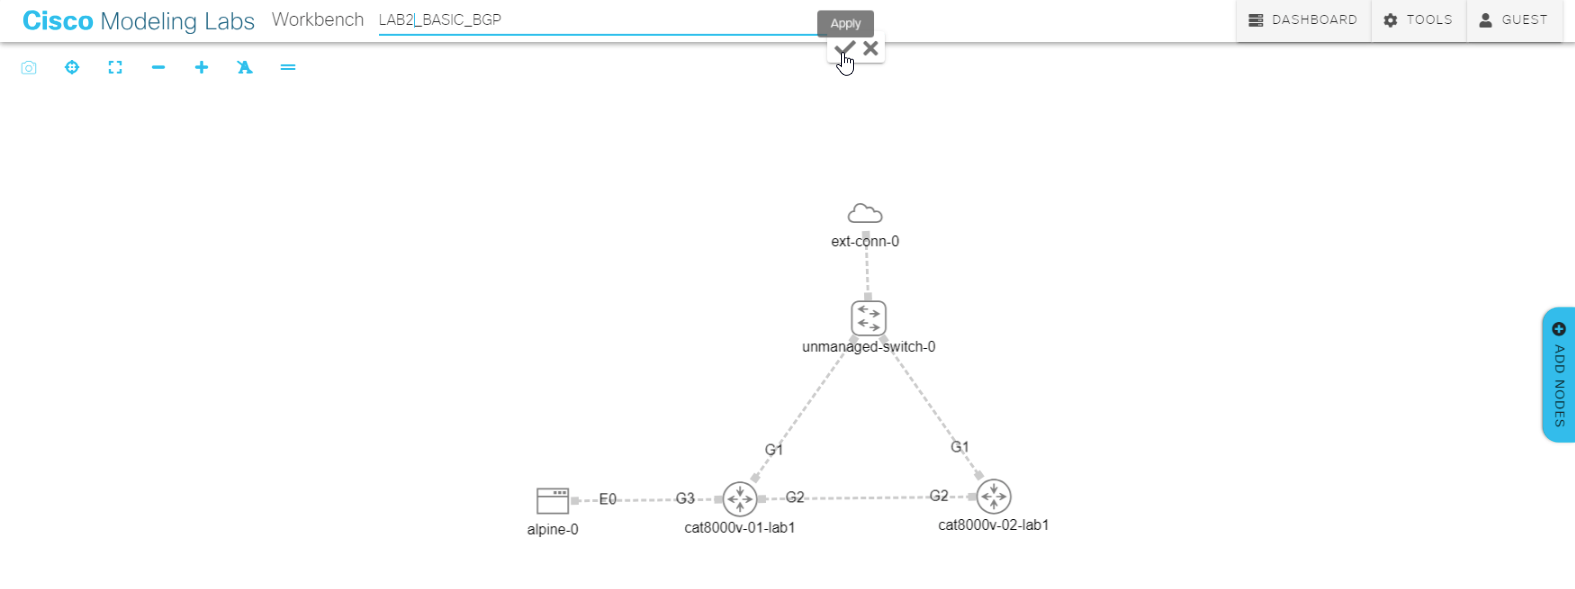
Go to the lab and change the name to: LAB2_BASIC_BGP
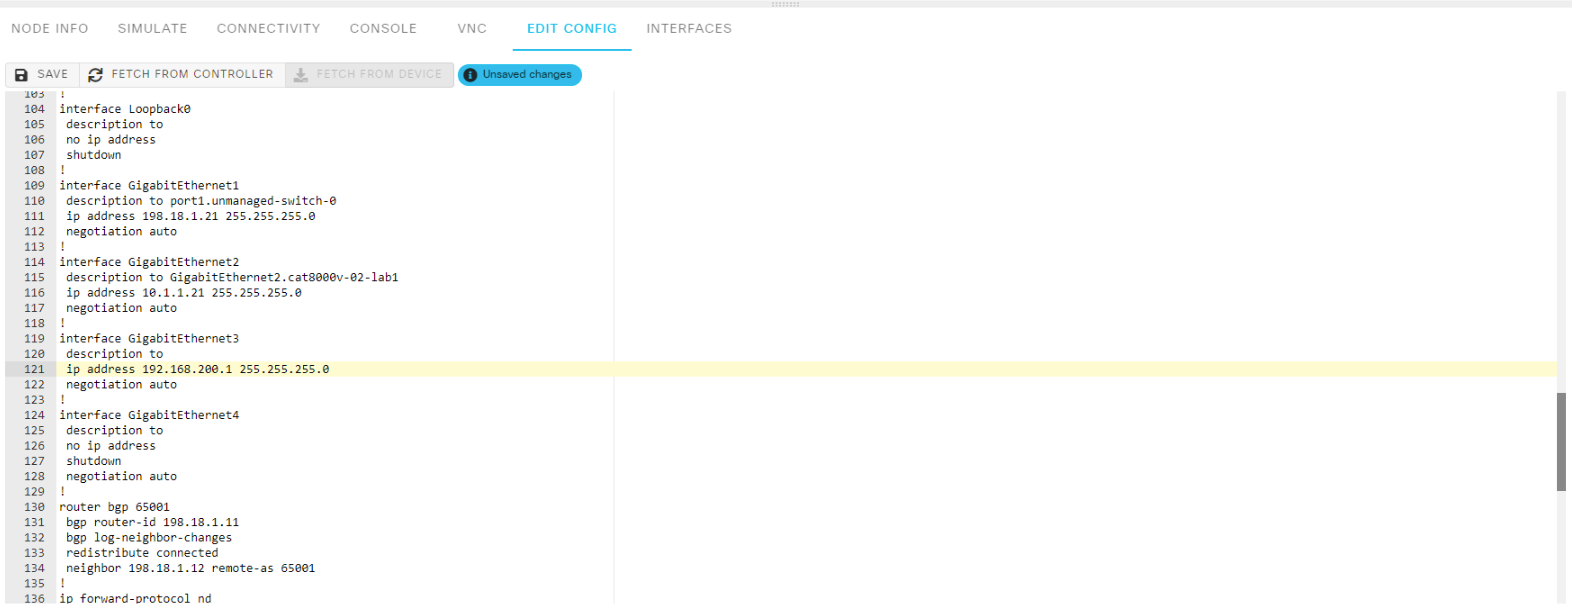
Change the node name accordingly to xxx-lab2 and edit the interface config:
Change the node name accordingly to xxx-lab2 and edit the interface and iBGP config:
					!cat8000v-01-lab2
!
interface GigabitEthernet1
 ip address 198.18.1.21 255.255.255.0
 no shut
!
interface GigabitEthernet2
 ip address 10.1.1.21 255.255.255.0
 no shut
!
interface GigabitEthernet3
 ip address 192.168.200.1 255.255.255.0
 no shut
!
router bgp 65002
 bgp router-id 198.18.1.21
 bgp log-neighbor-changes
 redistribute connected
 neighbor 198.18.1.22 remote-as 65002
!
					!cat8000v-02-lab2
!
interface GigabitEthernet1
 ip address 198.18.1.22 255.255.255.0
 no shut
!
interface GigabitEthernet2
 ip address 10.1.1.22 255.255.255.0
 no shut
!
router bgp 65002
 bgp router-id 198.18.1.22
 bgp log-neighbor-changes
 redistribute connected
 neighbor 198.18.1.21 remote-as 65002
!
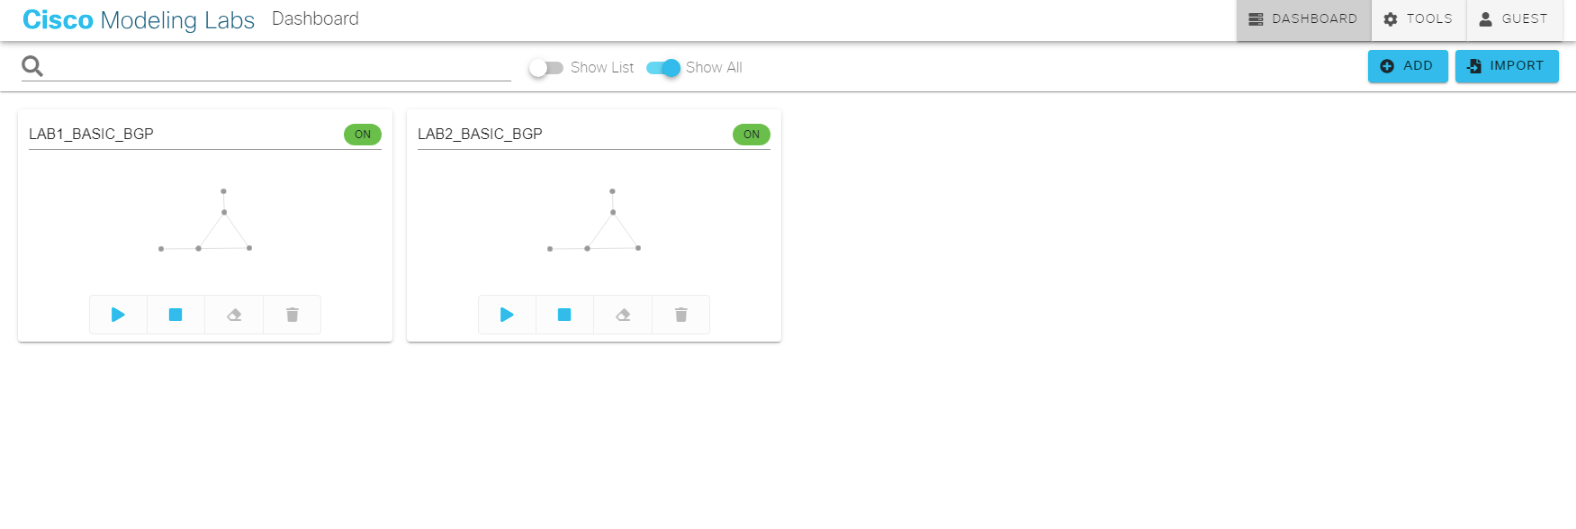
Start the lab and wait until it is booted. Both labs are running now.
Once the lab is running configure the client in lab2:
					sudo ifconfig eth0 192.168.200.200 netmask 255.255.255.0
sudo route add default gw 192.168.200.1 eth0
Connect both labs over an eBGP session to be able to ping each client from the lab:
					!cat8000v-01-lab1
!
router bgp 65001
 neighbor 198.18.1.21 remote-as 65002
 redistribute connected
 neighbor 198.18.1.22 remote-as 65002
 redistribute connecte
!
					!cat8000v-02-lab1
!
router bgp 65001
 neighbor 198.18.1.21 remote-as 65002
 redistribute connected
 neighbor 198.18.1.22 remote-as 65002
 redistribute connected
!
					!cat8000v-01-lab2
!
router bgp 65002
 neighbor 198.18.1.11 remote-as 65001
 redistribute connected
 neighbor 198.18.1.12 remote-as 65001
 redistribute connected
!
					!cat8000v-02-lab2
!
router bgp 65002
 neighbor 198.18.1.11 remote-as 65001
 redistribute connected
 neighbor 198.18.1.12 remote-as 65001
 redistribute connected
!


